(new) Kenta SL


Kenta SL
Regular price
From 6.999 €
Regular price
Sale price
From 6.999 €
Unit price
per
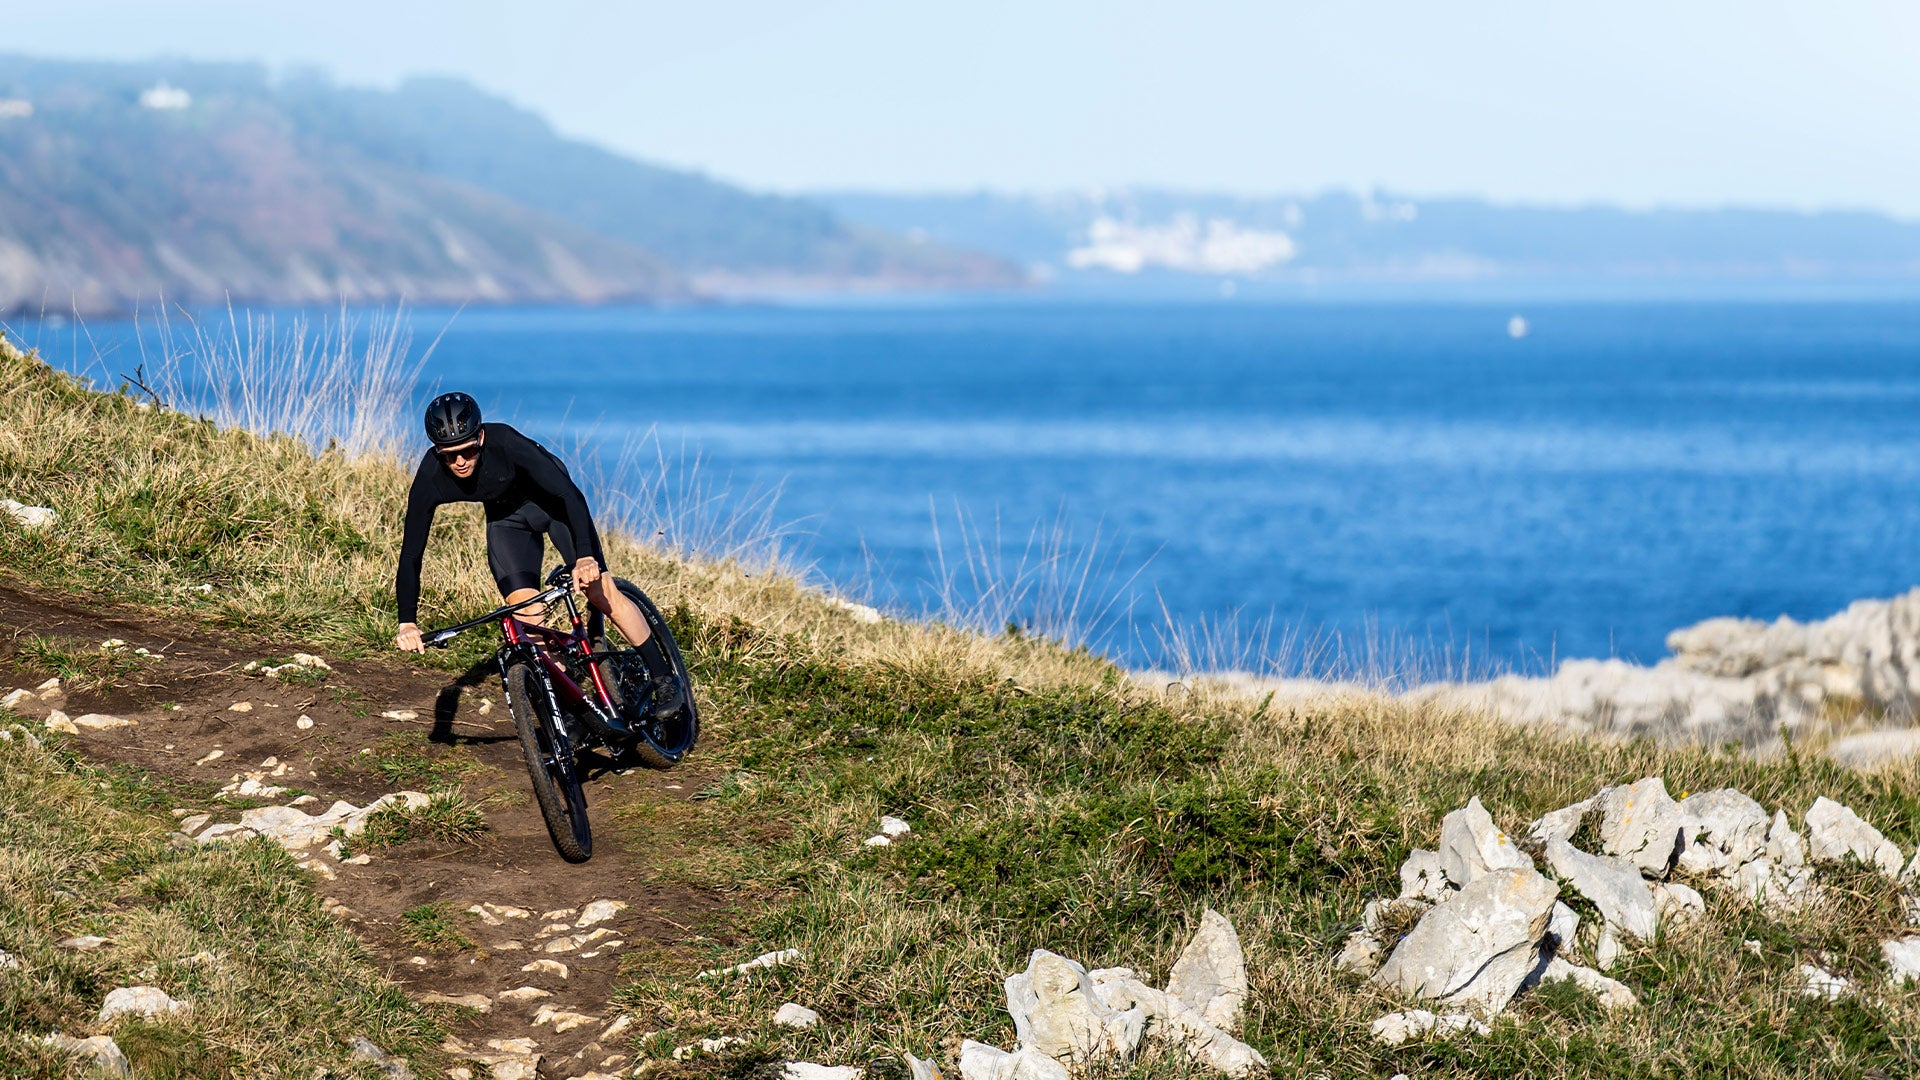
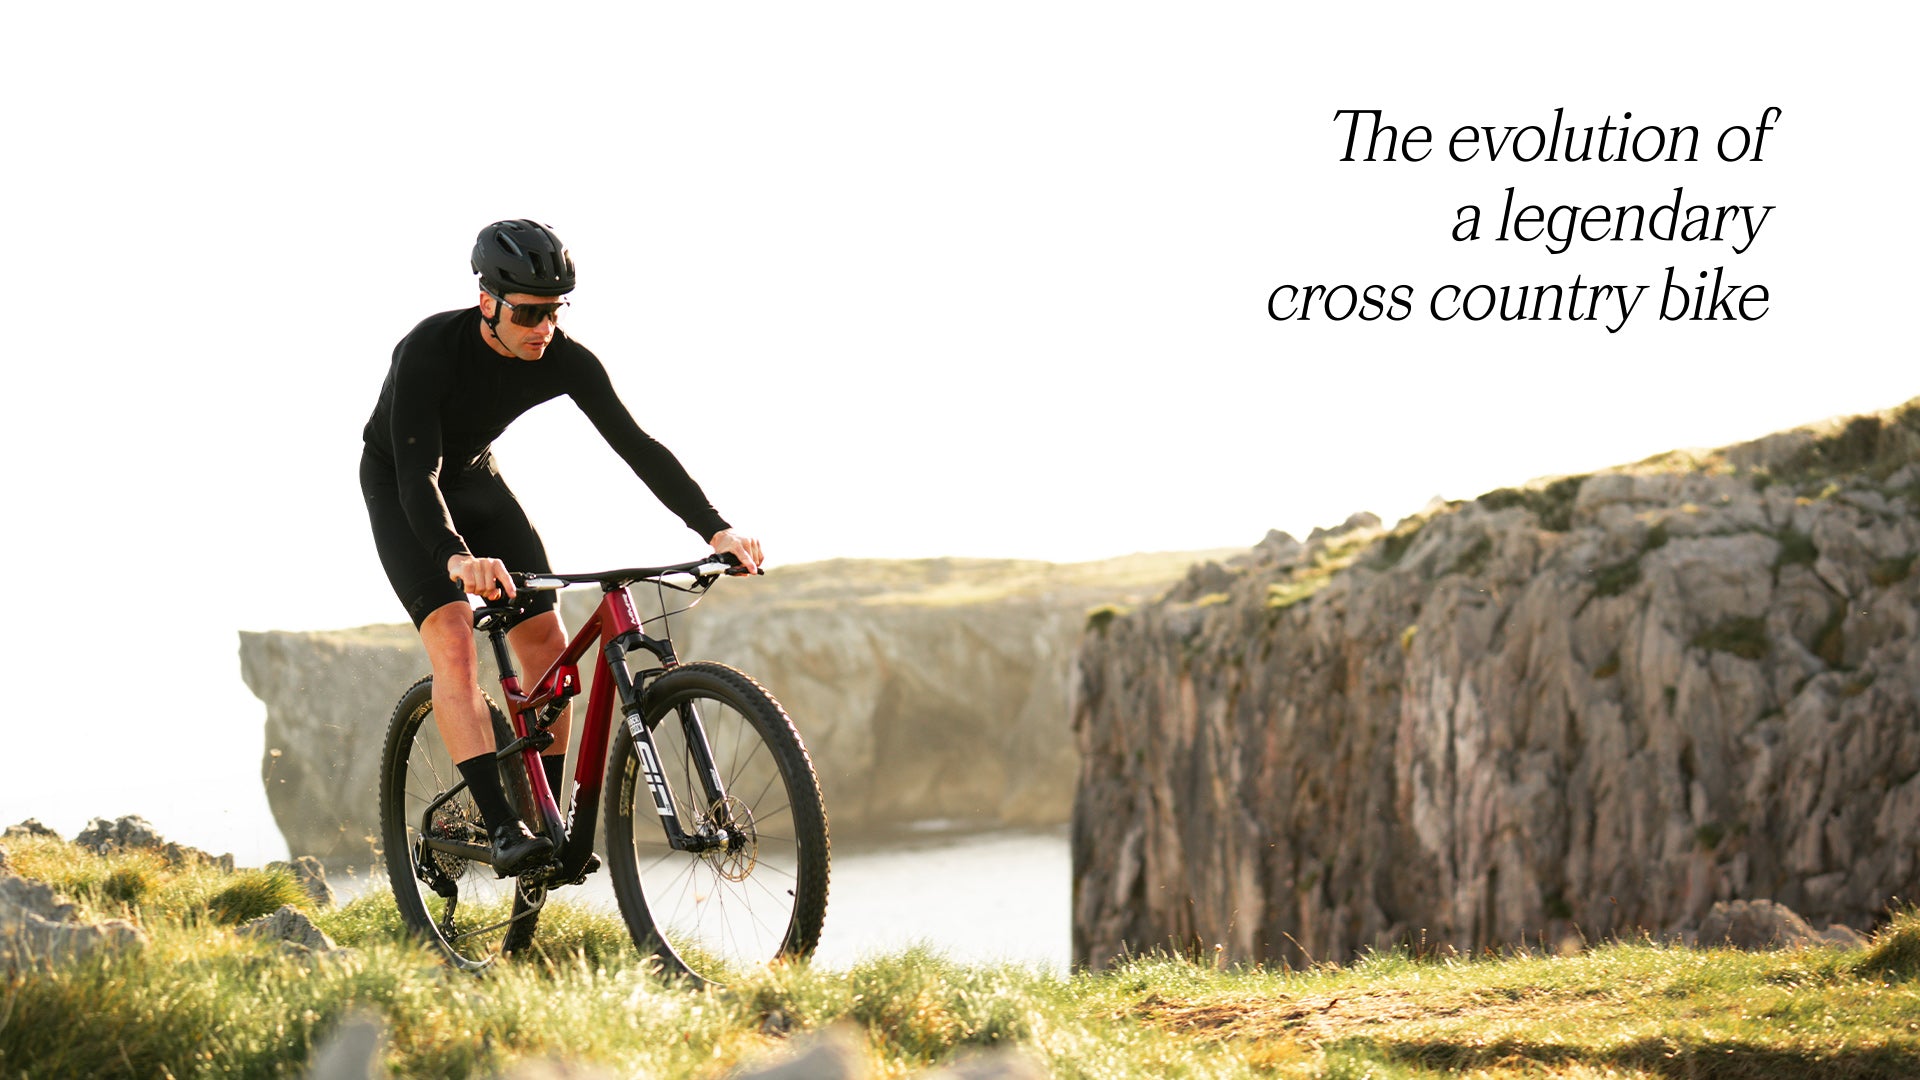
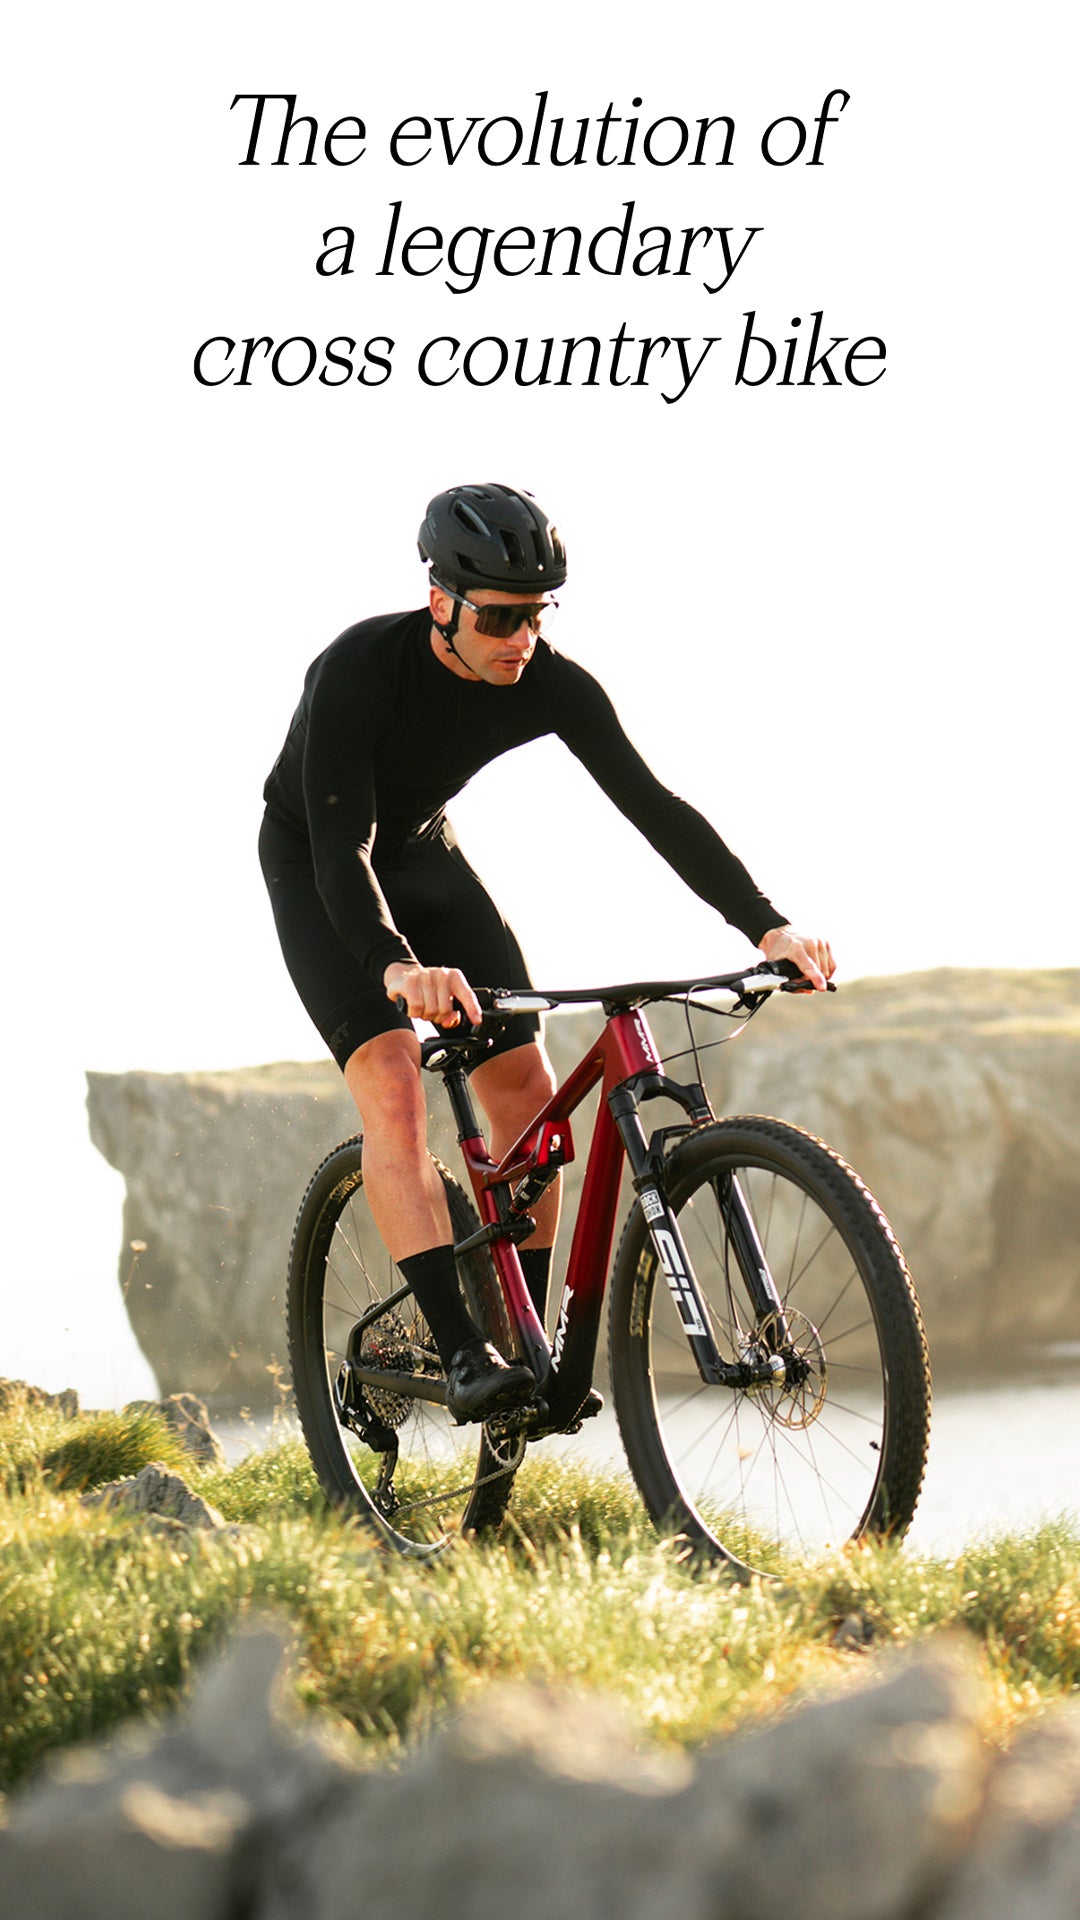
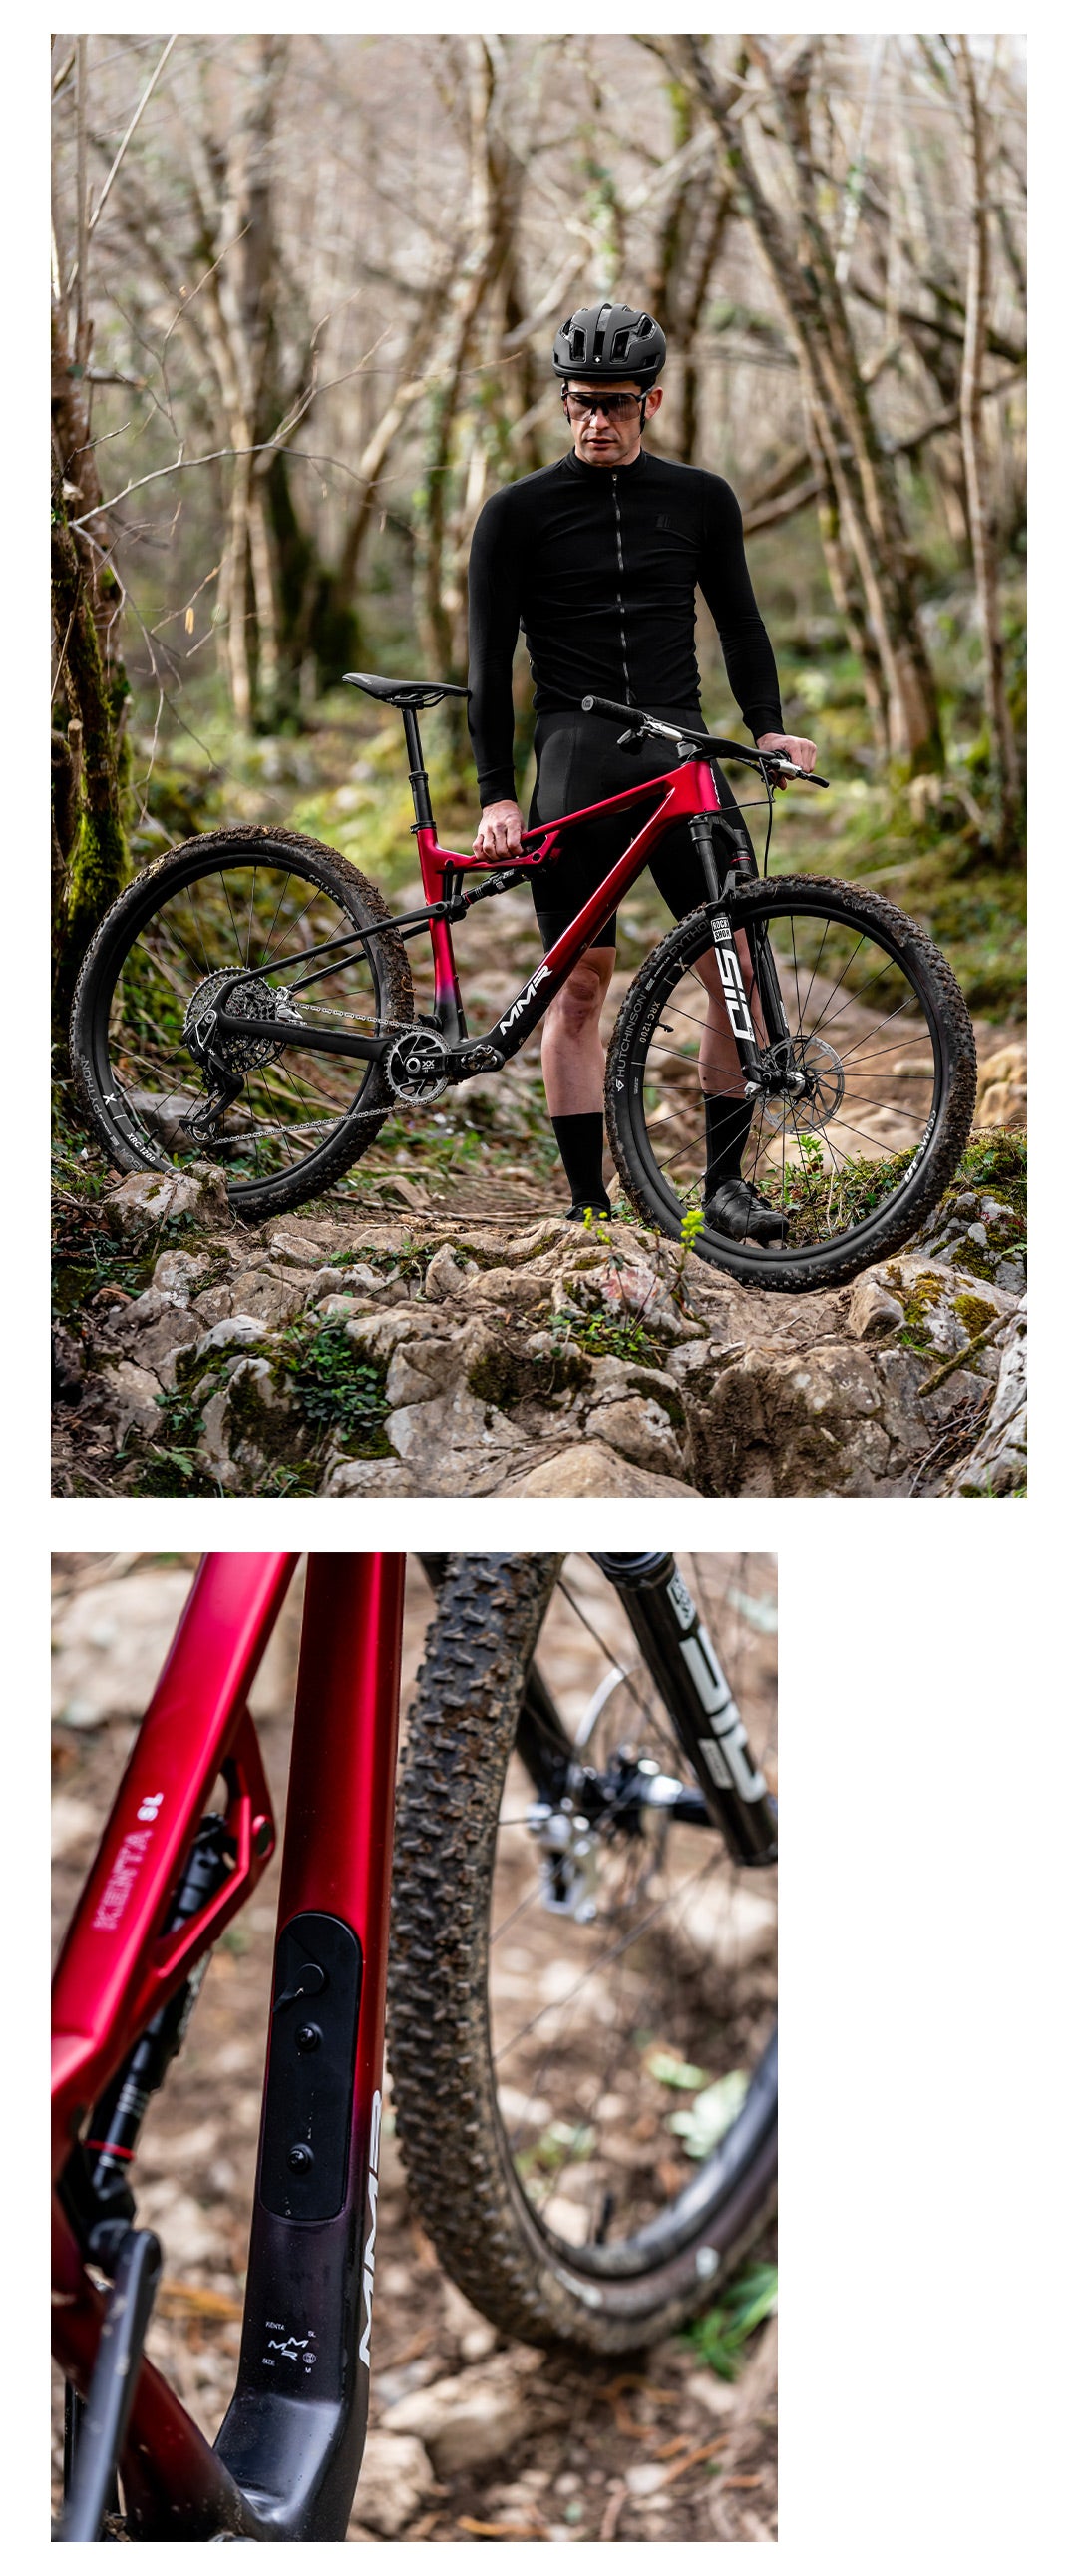
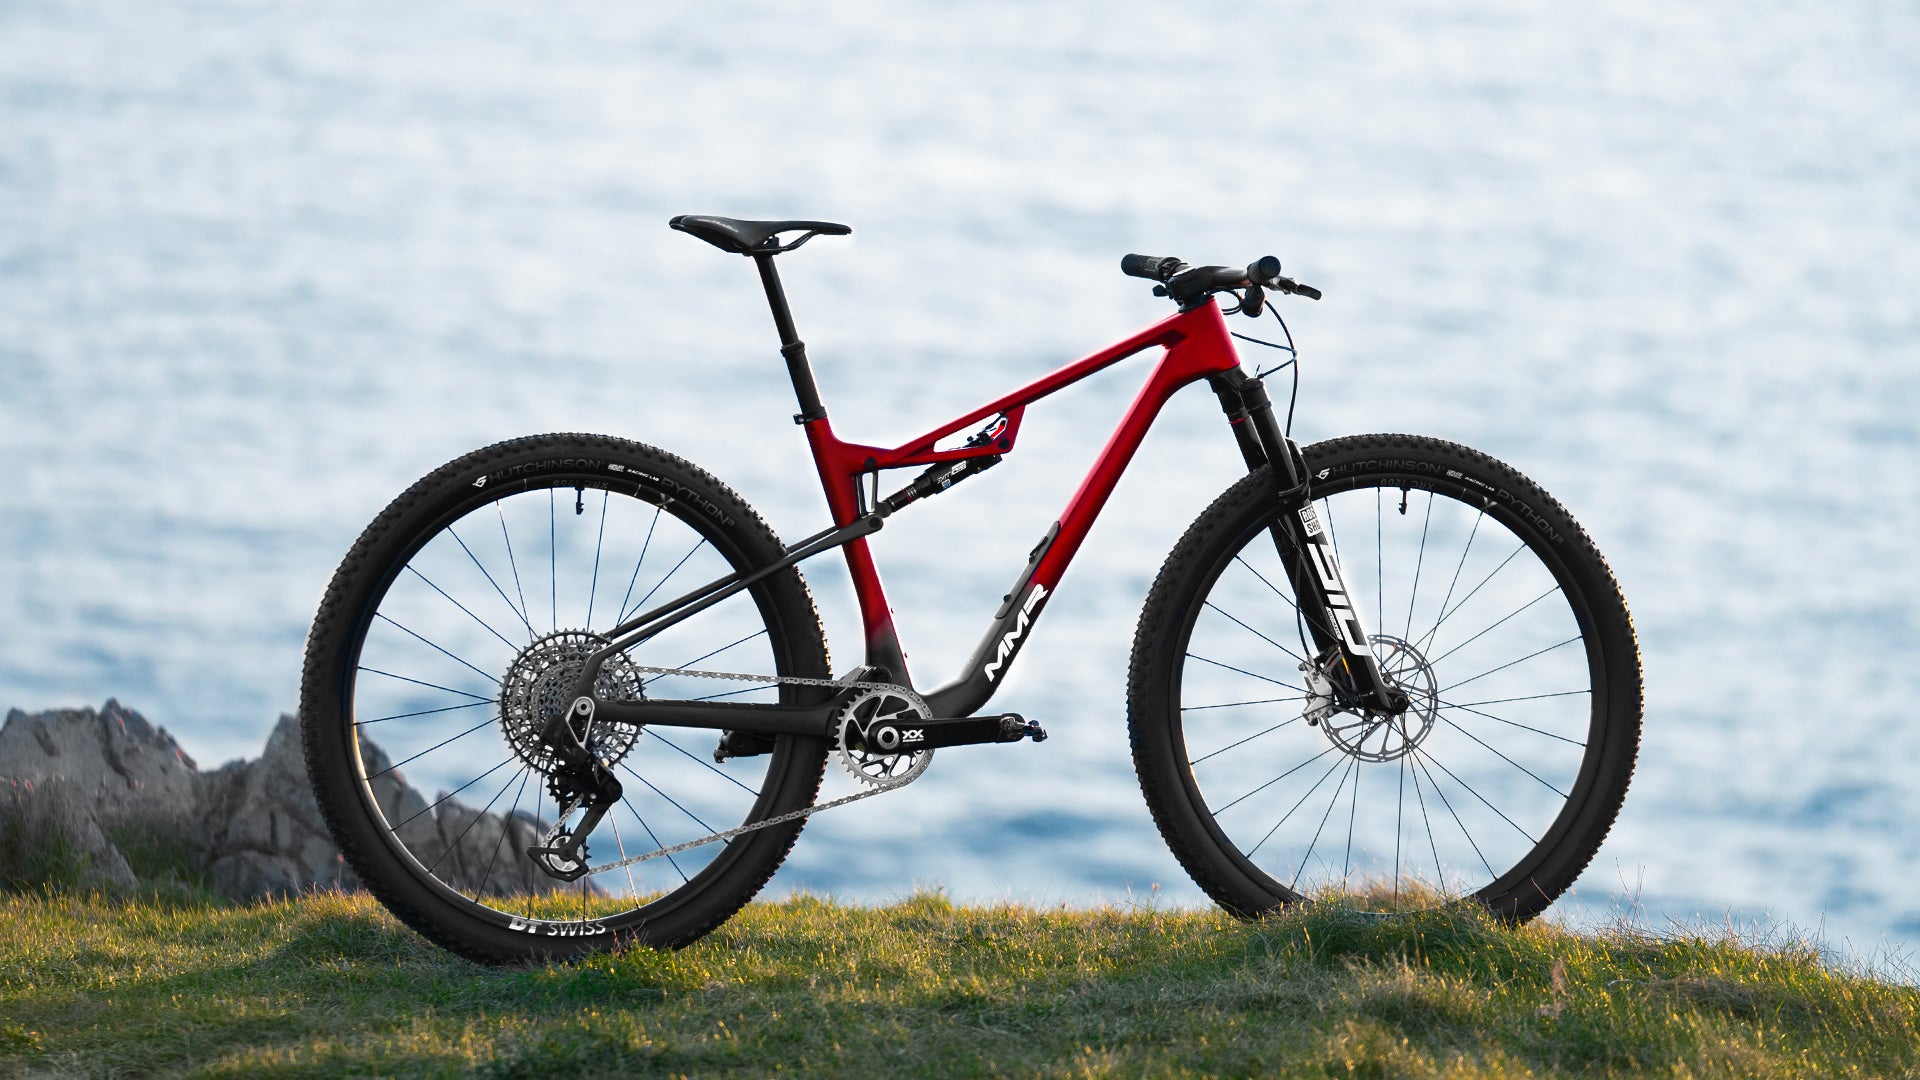
More than just an evolution.
Completely updated geometry, high-modulus carbon frame and swing arm, integrated handlebar with internal cable routing, and SRAM UDH system, created for the most demanding bikers, offering stability and agility without sacrificing performance or lightness.
Two suspension travel options, 110mm and 120mm, have been optimized to maintain excellent posture with completely redesigned head tube and seat tube angles, reducing rider effort and improving power transfer.
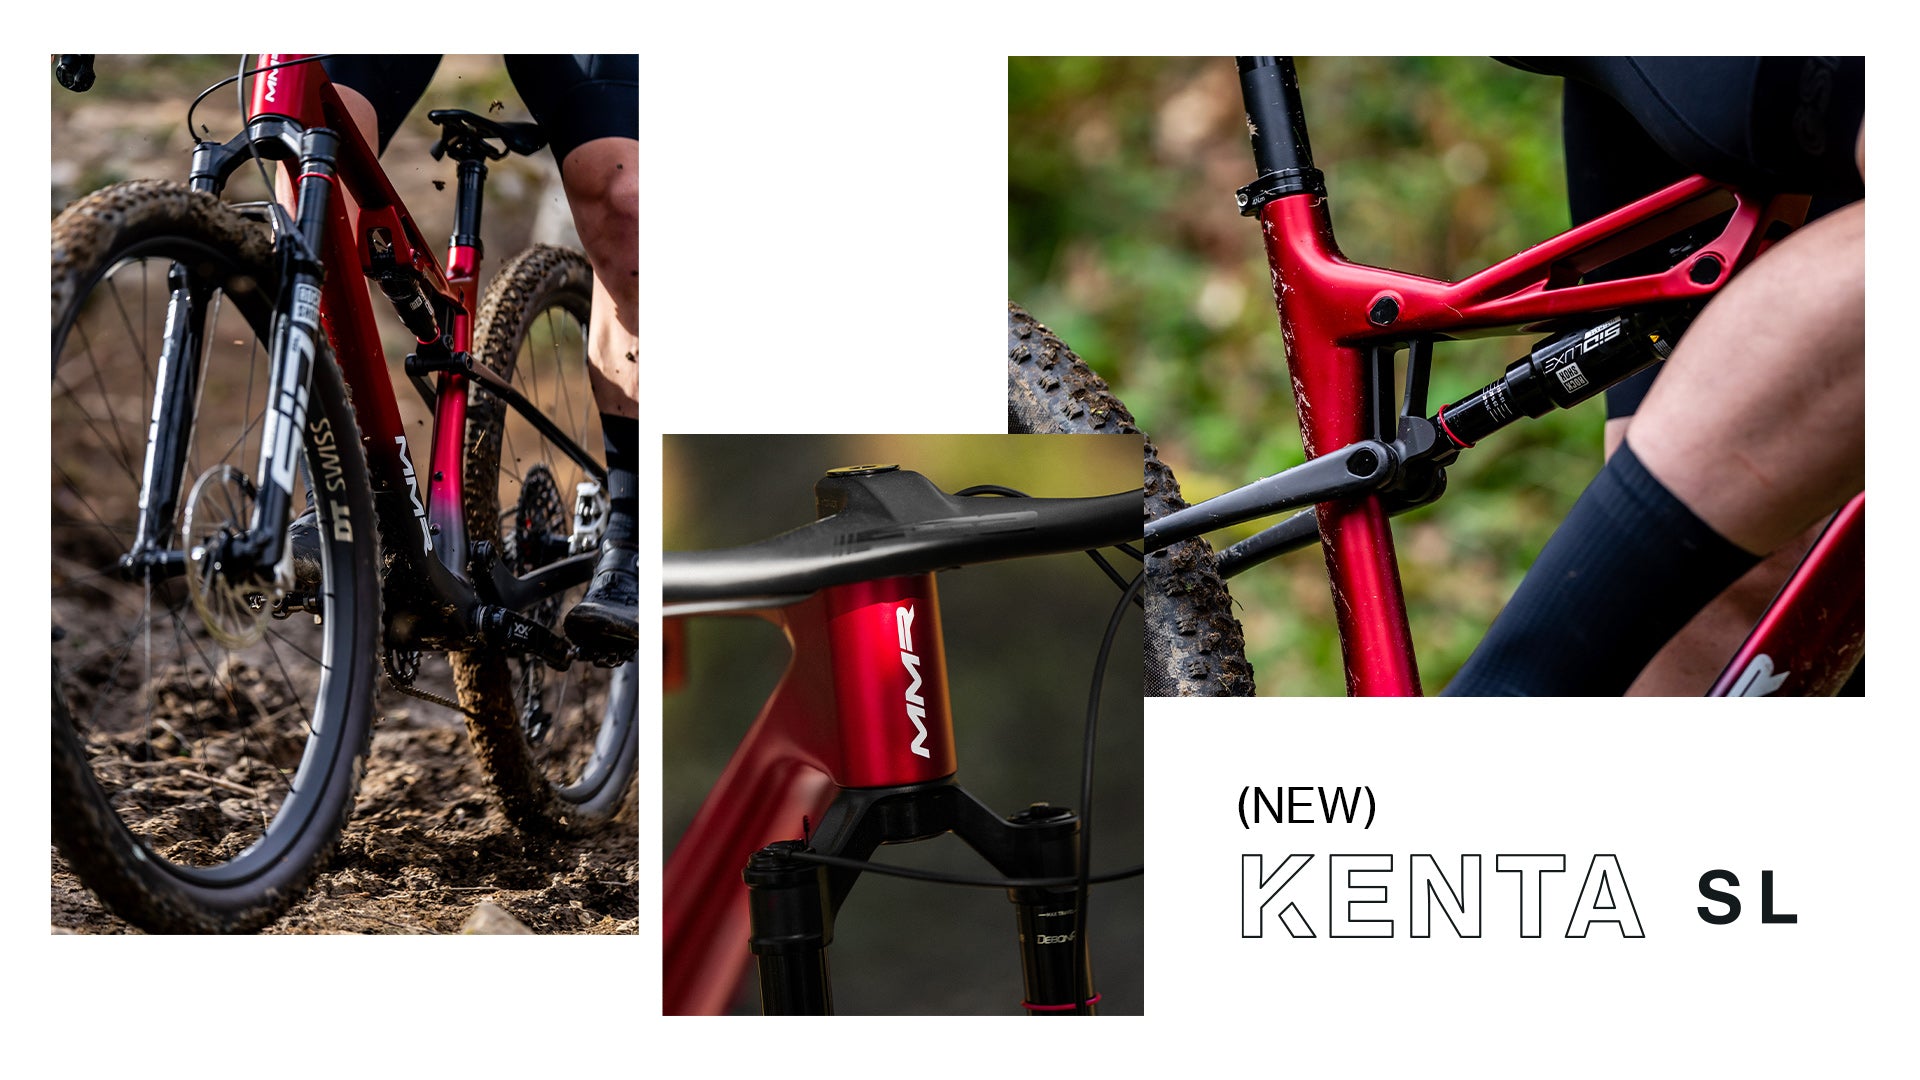
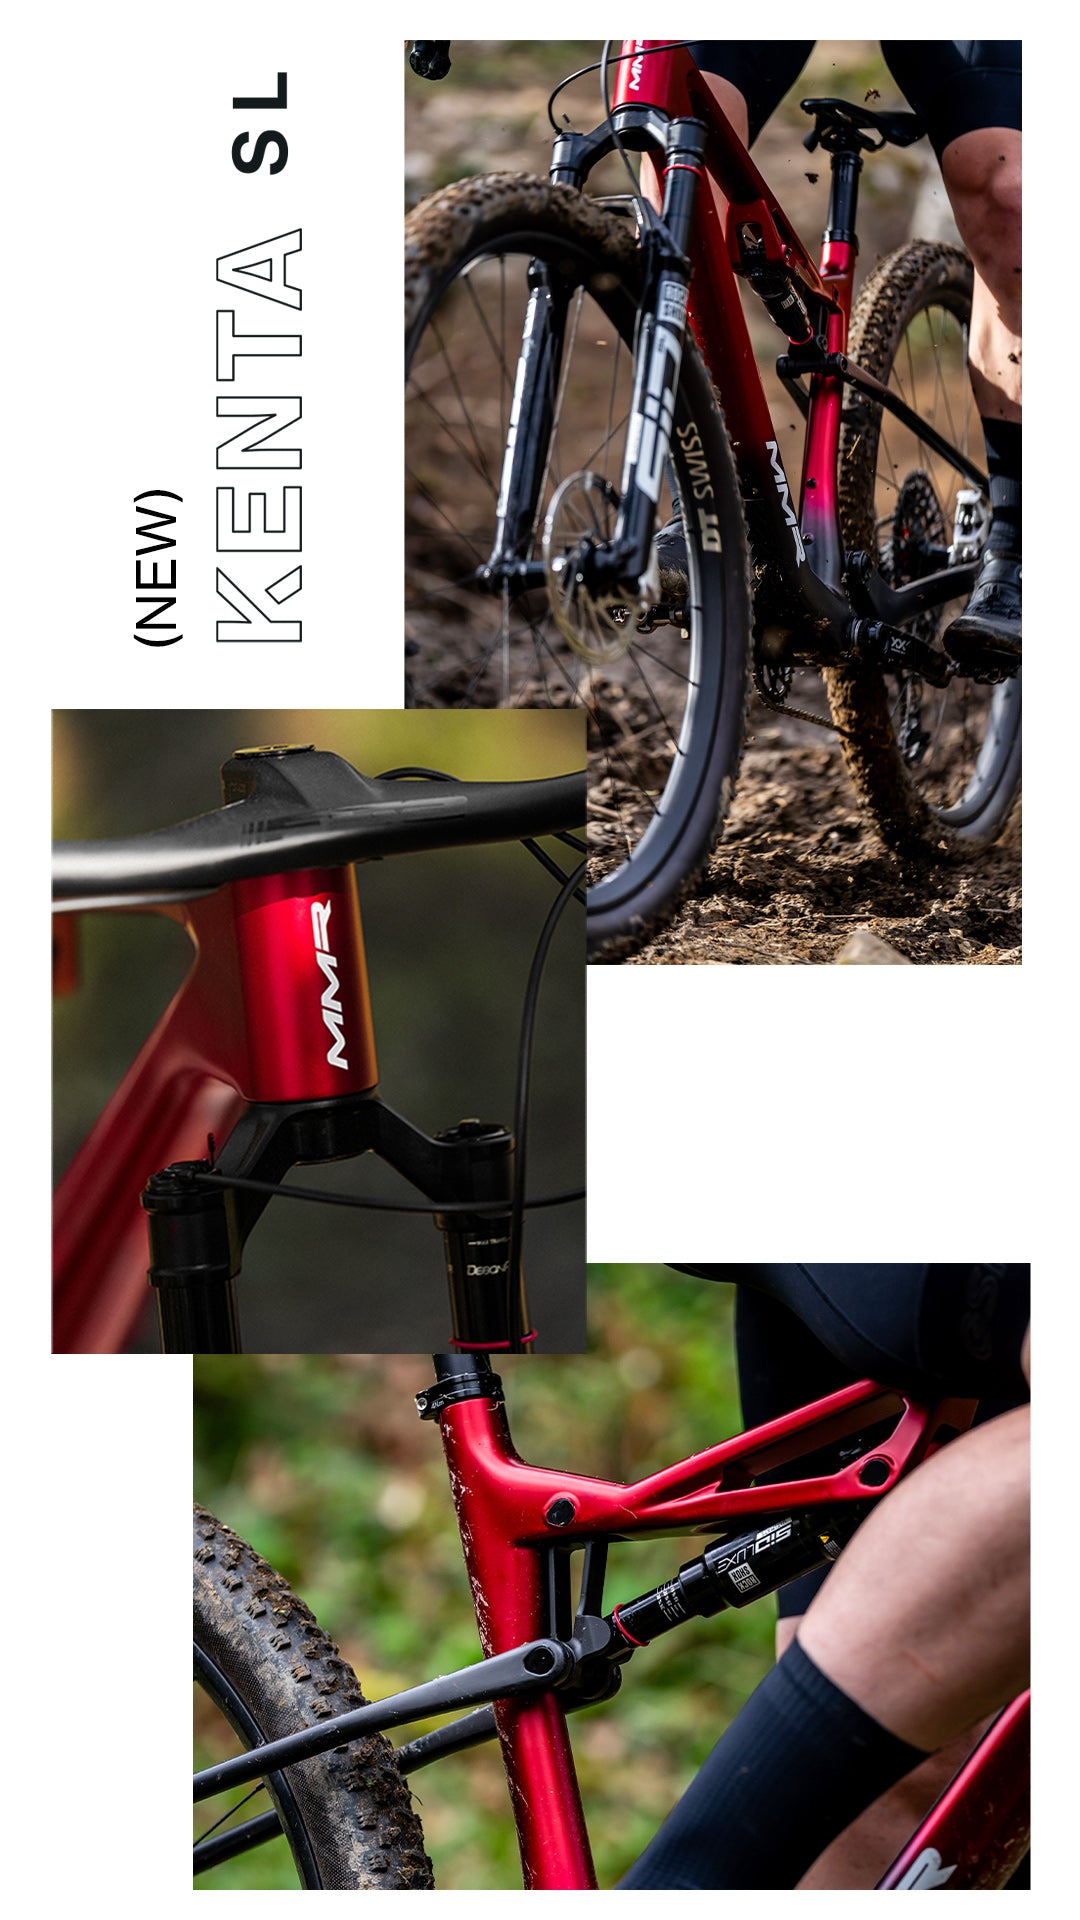
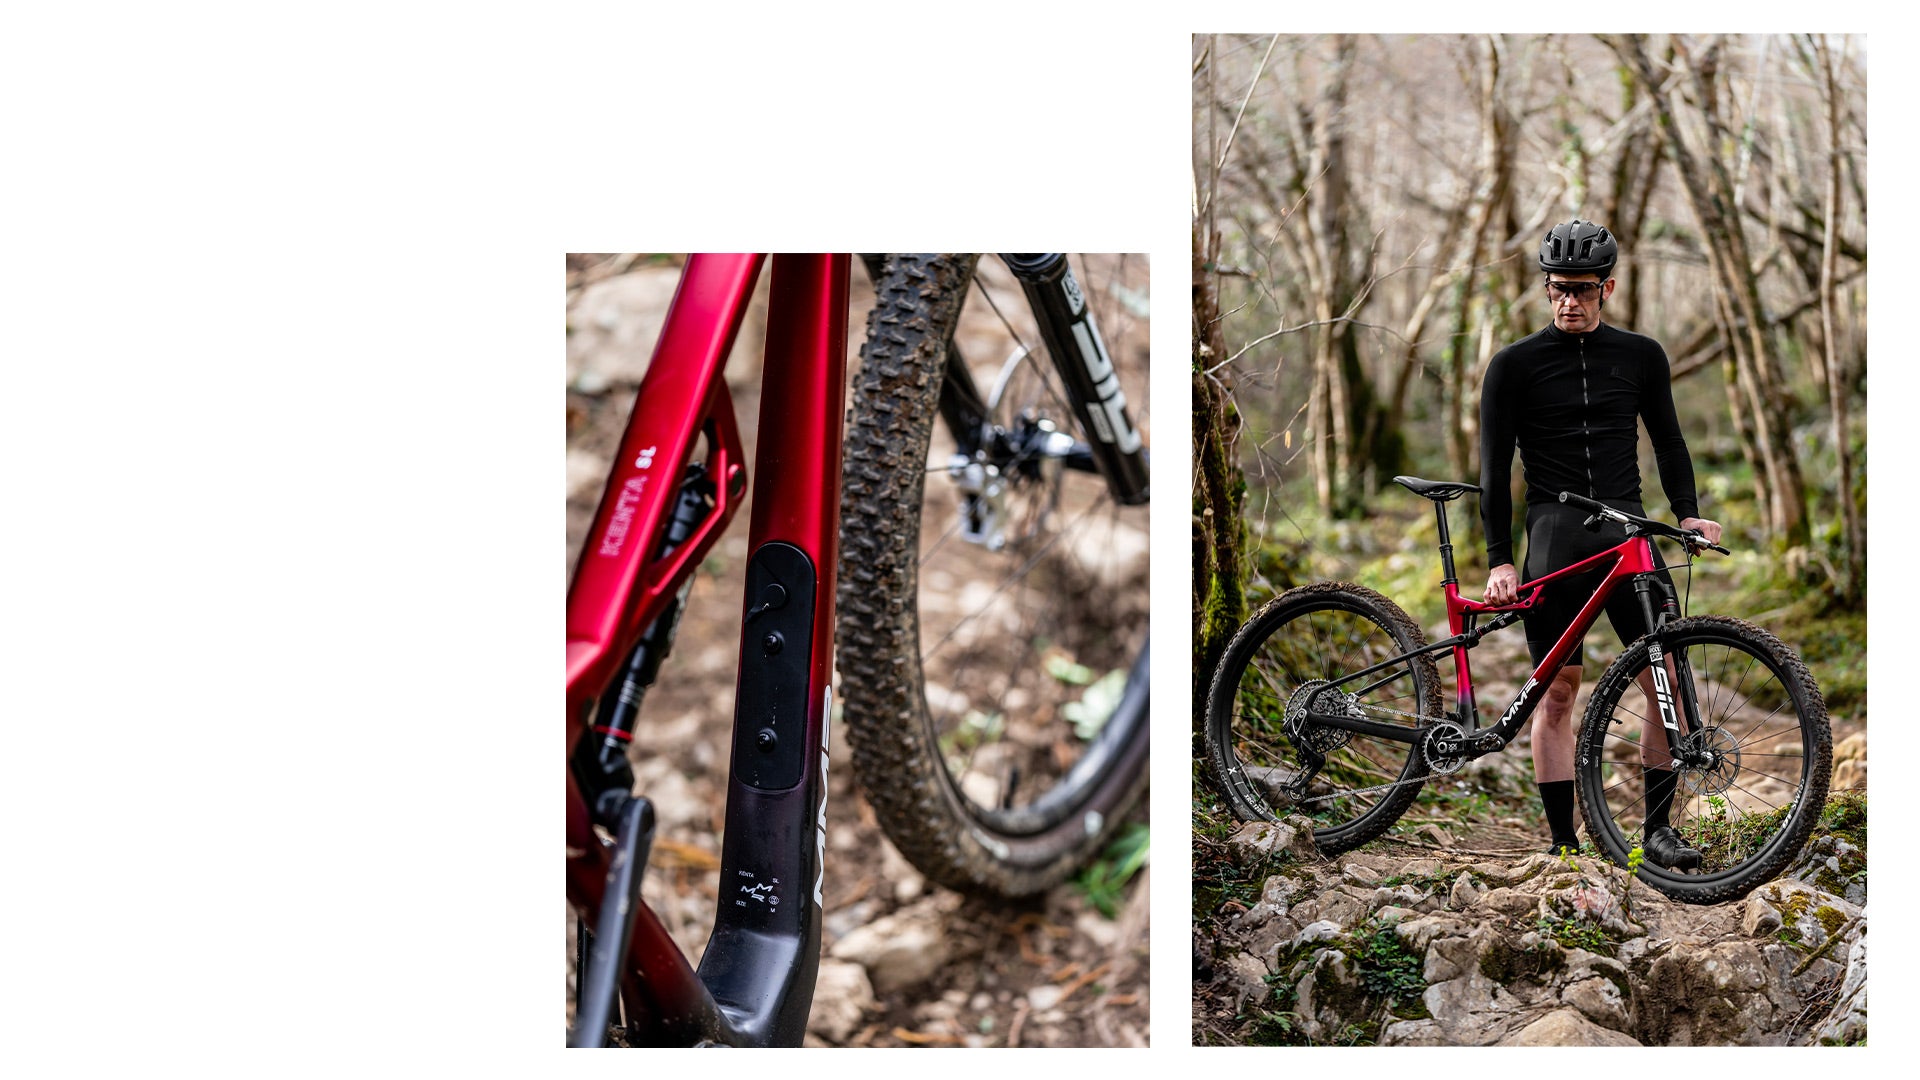
The new Kenta SL innovation includes a fully integrated down tube storage system that doesn't obstruct internal cable routing, designed to keep essential spare parts neat and tidy while riding.
Additionally, with safety in mind, we offer the option to 3D print a custom mount for an AirTag, a device that can track the bike's location.
* Recommended retail price.
** MMR reserves the right to modify, without prior notice, the product information shown here, including price, components, technical specifications, colors and materials.
 Compare
Geometry and sizes
G3 RACING GEOMETRIES
Thanks to our extensive experience in top level competition, we have developed the G3 geometry where the user can enjoy an aggressive, incredibly fast and agile position, but without neglecting a very important factor for our engineers, comfort.
One of the reasons we designed the bikes with feedback from the world's top XC racers is to harness the power in every pedal stroke.


| S | M | L | ||||
|---|---|---|---|---|---|---|
| L INSEAM (CM) | <82 | 81-88 | >87 | |||
| HEIGHT (CM) | <172 | 170-182 | >180 | |||
| L WHEELBASE 110mm (A) | 1135 | 1164 | 1196 | |||
| L WHEELBASE 120mm (A) | 1140 | 1168 | 1200 | |||
| L TOP TUBE (B) | 562 | 585 | 610 | |||
| L VIRTUAL TUBE 110MM (C) | 571 | 598 | 627 | |||
| L VIRTUAL TUBE 120MM (C) | 572 | 600 | 628 | |||
| L HEAD TUBE (D) | 85 | 96 | 112 | |||
| L CENTRE/CENTRE (E) | - | - | - | |||
| L SEAT/TUBE (F) | 430 | 457 | 508 | |||
| L CHAINSTAY (G) | 435 | 435 | 435 | |||
| L TRAIL (H) | 44 | 44 | 44 | |||
| BB DROP (I) | 40 | 40 | 40 | |||
| SS HEAD ANGLE 110MM (J) | 67.5° | 67.5° | 67.5° | |||
| SS HEAD ANGLE 120MM (J) | 67º | 67º | 67º | |||
| SEAT ANGLE 110MM (K) | 76.5° | 76.5° | 76.5° | |||
| SEAT ANGLE 120MM (K) | 76° | 76° | 76° | |||
| REACH 110MM (L) | 430 | 455 | 480 | |||
| REACH 120MM (L) | 425 | 450 | 475 | |||
| STACK 110MM (M) | 586 | 596 | 611 | |||
| STACK 120MM (M) | 590 | 600 | 615 | |||
| TRAIL 110MM (N) | 108 | 108 | 108 | |||
| TRAIL 120MM (N) | 111 | 111 | 111 | |||
| STEM (O) | 60 | 60 | 80 | |||
| L CRANK (P) | 170 | 175 | 175 |